How to Easily Add a Booking System to Your Website
Note: This post may contain affiliate links; I may earn a commission (at no extra cost to you) if you make a purchase via my links. See my disclosure for more info.
As an entrepreneur with a service-based business, having an effective and efficient booking system on your website is essential. Here’s how to easily add a booking system to your WordPress site for FREE. It can make it easier for customers to book appointments with you and can save you time in the long run. Thankfully, there are plenty of great booking systems available that you can add to your site for free.
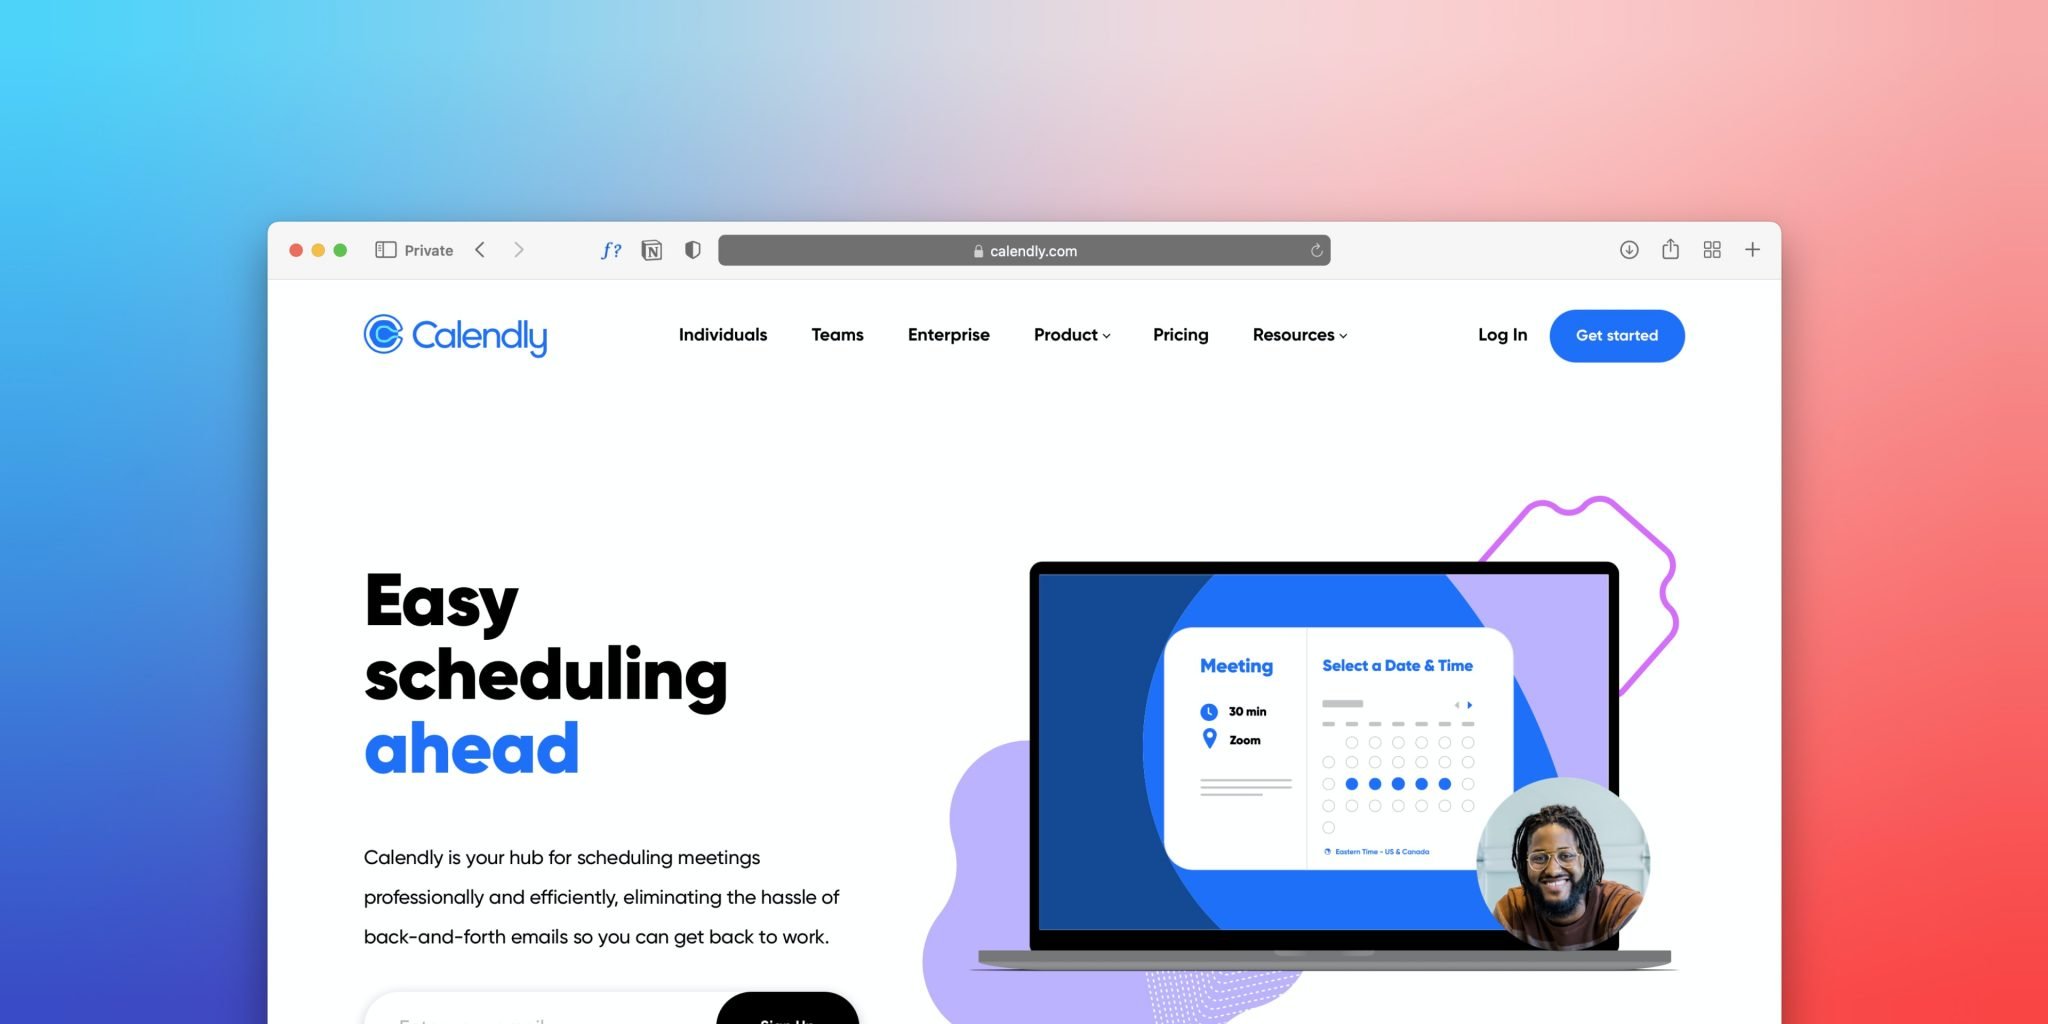
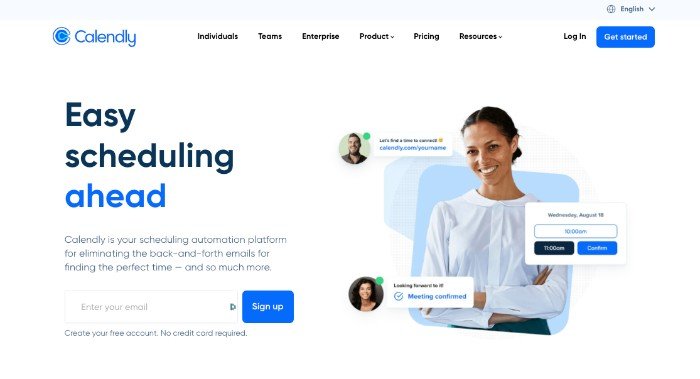
If you’re on the hunt for an online booking system to add to your website, Calendly is a fantastic tool that does just that. It also has the added bonus of being completely free if you only require one appointment ‘type’.
Let’s look at how easily you can add Calendly—a free booking system—to your website.
Table of Contents
How to Add a Booking System to Your Website using Calendly
Step 1: Go to calendly.com and sign up using your email address.
Step 2: Once you’ve set up your Calendly account, the first thing you need to do is to create your Calendly URL. This is the URL that you will send clients (via email, for example) that will link directly to your booking form within Calendly. You can set this to anything you like – your business name, your name or the name of the service you offer all work well.
Step 3: Select your time zone.
Step 4: Link your existing calendar(s) to Calendly. Whatever tech you prefer – Google, Apple or Microsoft – linking your calendar to the app means no double-booking. Select which existing diary you want appointments added to and say goodbye to booking conflicts forever!
Step 5: Set your availability. Perhaps you’re happy to take calls within business hours any day of the week. Or, you might be like me, and decide to only take calls on set days of the week because you prefer to block out certain days to focus on client work (for example, I only take calls between 9 am and 4 pm on Tuesday, Wednesday and Thursday).
Step 6: Create your appointment types (remember you only get one type on the free Calendly plan). Once you click ‘create’, you’ll need to select the type of meeting to offer and whether it’s in person, a phone call or via video call. I conduct my client meetings on Zoom but Microsoft Teams and Google Meet are also options so choose the one that works best for your business.
Step 7: Connect your Zoom account. Hosting meetings on Zoom has never been simpler! Connect your account to Calendly and when clients book an appointment, they’ll receive a meeting ID plus a password – the perfect ingredients for smooth video conferencing.
Step 8: Upload any important pre-appointment info. Whether you need to communicate specific instructions, summarise the meeting agenda or simply advise clients of things to do or consider before your call, including this information in Calendly will ensure you both get the most out of the appointment.
Step 9: Set your date range. Calendly offers you the option to allow people to book appointments at any point in the future or alternatively to limit bookings to a certain number of weeks/months ahead. I have set mine to a maximum of 21 days ahead but choose the timeframe that best suits your business.
Step 10: Select the length of the appointment type(s) you want to offer. Again, you can customise this to suit your specific business requirements. My top tip here is to use the option to automatically block out a window of time before and after appointments so that you have a buffer at the end of each meeting to prepare for the next one. As well as giving you time to make any notes, this will also stop meetings that overrun from making you late for any others you have booked in.
Step 11: Set up pre-appointment questions for your client. When someone books an appointment with you via Calendly, you automatically receive their name and email address. You can also request other information from clients to help you prepare for consultations. You can create a quick questionnaire to accompany all bookings and opt to make the answers ‘required’ fields to ensure you gather all the information you need.
Step 12: Set up email notifications. When someone books an appointment via Calendly they will automatically receive confirmation via email. You can customise this message with details of your choice. You can also play around with the settings for cancellation notifications and emails as well as setting up automated pre-appointment reminder emails or texts (in which case you’ll need to capture their phone number when they place a booking). You can even go as far as scheduling an automated post-meeting follow-up email.
Step 13: Upload your cancellation policy. It’s a great idea to include a link to reschedule or cancel your meeting in all pre-appointment communication. You should also consider adding a copy of your cancellation policy which will explain to clients what happens in the event they need to reschedule/don’t turn up for the call or cancel 5 minutes before it’s due to start.
Step 14: Share your Calendly link. To share your Calendly link, simply copy and paste it into emails/Google docs/your social media bio etc.
useful features/upgrades in the paid version of Calendly
Payment processing – if you offer paid consultations and require clients to pay upfront, the paid plan gives you the option to collect payments from clients when they place a booking.
Automation – a relatively new feature in Calendly which can further streamline your workload by setting up workflows and integrating with marketing campaigns.
Step 15: Add the Calendly Plugin To Your WordPress Site. Now it’s time to add Calendly to your WordPress site. The easiest way to do this is by using the official Calendly plugin for sites which allows users to embed their calendar directly into their site without any coding required!
To get started, install and activate the plugin from within your WordPress dashboard (Plugins > Add New). Once activated, go back into Settings and enter your API key (which can be found in Settings > API Keys on your Calendly dashboard) as well as any other settings such as language or colour preferences before saving changes. Now when visitors come to your website they will be able to see all available appointment slots in real time!
Book clients anytime!
So now you know how to add a booking system to your website. Automation is a dream come true! With Calendly, you can easily book clients around the clock – even when you’re away. Connect your link to an auto-responder or out-of-office message and see how streamlining client interactions takes stress off your plate.
Setting up a free booking system like Calendly on your website doesn’t have to be complicated or expensive!
With just a few steps and minimal effort, entrepreneurs of all kinds can quickly start taking advantage of this powerful tool for managing customer appointments. So why not give it a try today? It could make a world of difference for both you and your customers!
If you have any questions just send me an email at hello@treeduckdesign.com. If you need help implementing this on your own site and have other bits and pieces you want to update on your site then get in touch.